Thursday, August 04, 2005

apologies...

...for not keeping up to date. This was because of moving house. The good news is that I have more room, including space for a proper workshop. Watch this space. No, really. Please.

Monday, July 18, 2005

visual documentation

The procedure for etching a circuit board is roughly as follows:
-transfer your circuit design onto the board using any of the various means out there.
-dump the board into a tub of ferric chloride. This etches away the copper from the board that is *not* covered by the ink from your transfer.
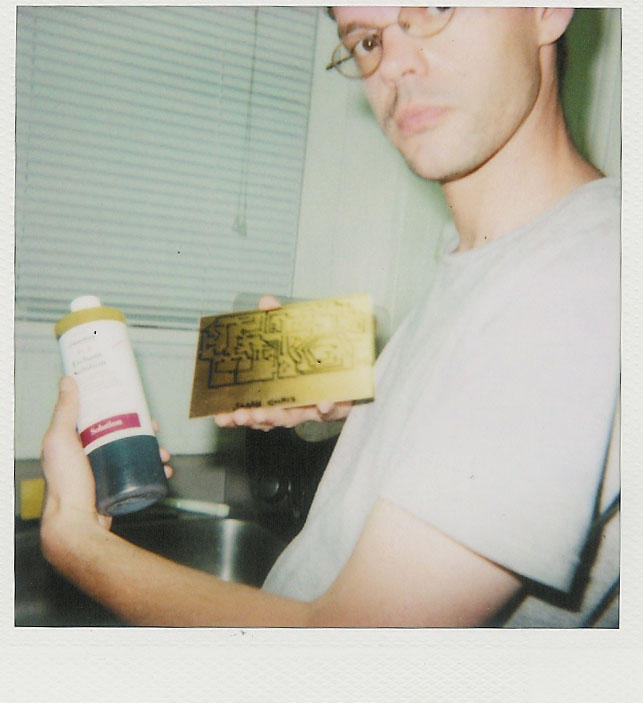
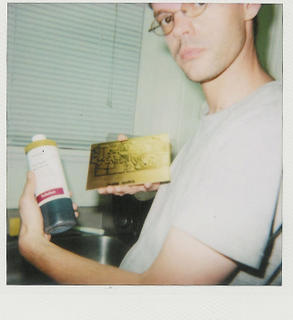
-when fully etched, use Mystery Enclosed Cleaning Solution to wipe the ink off.
-neutralize the etch with cold water.

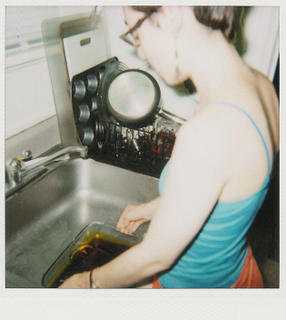
After the struggle with getting our design on the board free hand, we were ready to etch, using our newly purchased Pyrex pan as a tub for the ferric:


So we put in the board, agitated, stirred, waited, agitated, waited, waited...
After an hour or so (where the kit stated part should take us "twenty to thirty minutes", Ms S suggested we should head down to the Fleetwood Diner while we wait. One lovely greasy late breakfast later, we came back to find /some/ etching happening at the edges of the board, but certainly not a significant amount.
More agitating:

Sunday, July 17, 2005

its like pushing a theremin uphill...

I'll break this up into a few reports. Ms. S. and prepared ourselves for an evening of circuit board etching. This involved some not-quite-last-minute shopping at the the Shack Built of Radios and the Mart of K's. Houseware purchases included disposable rubber gloves (not so much out of concern for the ferric chloride, but to avoid getting fingerprints on the boards) and some sort of contain for the ferric bath. We settled on a Pyrex pan, about 12" by 8". We also gazed longingly at the black and decker multi-bin container cart. Mmmmm....container cart.
Our electronics purchases were last minute components and a bigger board than the one that came with the DIY etching kit.
*Future plan number one: use some method other than freehand drawing to get the circuit design on the board*
The design we pulled from the web is *slightly* larger than our board. However, we knew enough to squeeze the design a little bit and cram everything a little closer. At first I was nervous about messing with it too much due to the size of the components (the traces can be altered, but the size of the parts they connect can't be). I then realized that, worse comes to worse, we could run wires from the parts to the board where there's an awkward fit. We could also solder the resistors military style.*


*I swear I've heard soldering resistors vertically called this. Really.

Wednesday, July 13, 2005

tango charlie zebra theremin...

Tonight is double checking we have everything we need and etching the boards. Why am i nervous about this going all right? Watch this space.

Tuesday, July 12, 2005

(insert joke about "showing etchings")

Ms. S, Mr. B and I had an evening of circuit board etching at S' house. I had picked up a few make-your-own-circuit-board kits from radio shack, but our theremin schematic was not going to fit within the kit's 3" by 5" size. Unsure of our accumen anyway, we decided to do a test run, using our recently purchased circuit board dry transfers and special purpose etch resist marking device.

After leaving the board in the etching solution for the recommended 20 minutes, very little of the board was exposed, although the transfers had clearly blocked a lot of the process. I was certain that this level of etching was sufficient, but Mr B quite accurately assessed that we need to keep them in longer. After about another 30 minutes, we had properly etched test boards.

I wanted to try out my smallest drill bit to see if it would work for fine electronic drilling. Oh, it did. I need a variable speed drill, I now realize.

A night of much edification. We are prepared to make the *real* circuit boards on wednesday (once I buy some bigger boards).

Tuesday, July 05, 2005

when we last left our heroes...

Ms. S and I had been working on this project for a little bit. I'll gather the information we've gathered and post it here. Now, however, the building process will be documented.